Craft Photography Made Simple

When it comes to selling your crafts online, taking an excellent photograph is just as important as making something beautiful. With flash, bad lighting, and blurry focus thwarting your best laid plans, there are many obstacles to getting the perfect picture.
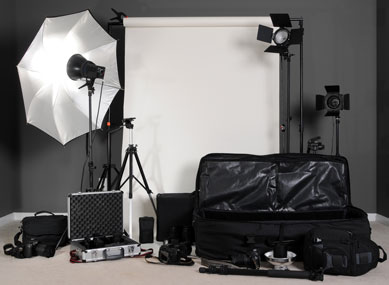
The good news is that taking a great picture doesn't have to be difficult. Even if you don't have a state-of-the-art photography studio in your spare bedroom (if you do, feel free to stop reading here), a few simple tricks can make your wares look spectacular and get them sold.
Lighting
- Natural light is your best friend - it gives you Vitamin D, it makes your garden grow, and it makes everything you craft look amazing. If you can use natural light, do it. Shoot near a window, or set up an area outdoors (afternoon is best so you avoid harsh shadows).
- If natural light isn't available, you can tape tissue paper to the flash of your camera to diffuse the light and prevent hard light, glare and shadows.
- If you're shooting something very small, a type of lightbox known as a softbox works well to create indirect, diffused lighting. With a cardboard box, white tissue paper, and some tape, you can construct one if you're especially crafty.
Setting the shoot
- Simplicity usually works best. Pick background colors that don't clash with what you've made. You can cover a work desk with craft paper for an easy photo area.
- For small items, use something in your photo that can give an idea of scale. An apple, a small flower, or even setting something on an old book can add a little style to the photo and serve this purpose.
- If you're working with a colorful knit, try to avoid a background that is too busy or utilizes the same fabric you've worked with. Let the piece you're selling be the star.
- Avoid using anything reflective in your background. It'll cause a glare and show anything behind you, including you. Self-portraits are never good sellers.
- Take pictures from several angles so that a potential buyer can see all sides. Use a combination of wide shots and zoom features to pick up small details.
Photo Editing
- For many, Photoshop is a helpful way to make the most of your photos. Get familiar with certain filters to improve bad lighting and brighten pictures. Tutorials and simple how-tos are everywhere.
- Color saturation can help make your pieces look truer to life, but make sure to use sparingly. Too much and your customers my become angry when the product they purchase looks nothing like the photo.
- Diffusing the edges of an image can bring greater focus to your piece. As with everything, use it sparingly so that the effect is subtle.
Common mistakes to avoid
- Unless you have exquisite hands, avoid taking pictures of rings while they're being worn. Wrinkles, a bright nail polish, or scars can be distracting. Keep this in mind when trying to sell any sort of crafted jewelry online: necklaces can accent cleavage, bracelets accent arm hairs or dry skin. If you feel that shot needs someone wearing your piece, look over the photo carefully and use Photoshop to erase certain flaws.
- Avoid a cluttered picture by keeping the background clean. A plain wall or a cloth backdrop works fine. If you're zooming out, keep the sides clear of any household items or crafting materials.
- Avoid low resolution photographs. No one wants a fuzzy picture where the details are lost. The higher the resolution, the better the picture.
Selling crafts online can be a fun and rewarding process. Taking a great picture of something you've created is essential to standing out and getting your items sold. Keep it simple, keep it pretty, and let your items sell themselves!


Troy Corbin is the CEO of Country Brook Design with a background in computer science and business administration. He's spent the last 13 years helping small businesses source and utilize quality crafting materials, and assisting them navigate the worlds of e-commerce and SEO.
When he's not working, Troy enjoys photography, PC gaming, music production, model railroads (choo choo!), and his cat Pippin...