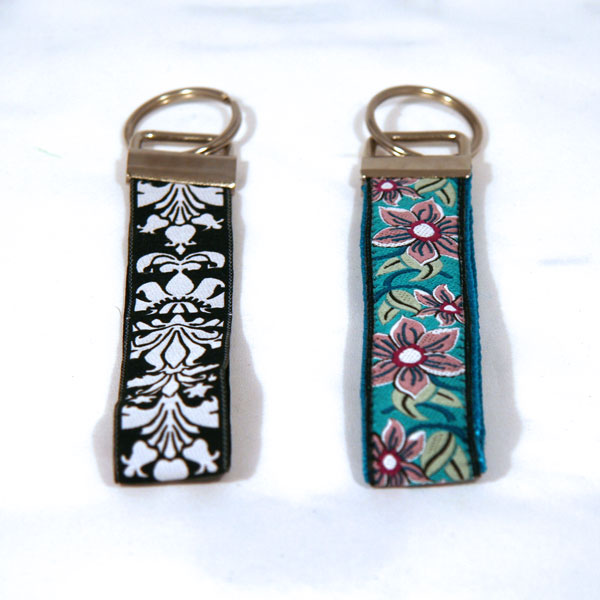
How to Make a Key Fob
Key fobs are so simple to make, and they are a great assembly-line craft. They make great gifts that not only require a minimal amount of your time (very important these days!), but fit into a small budget as well.
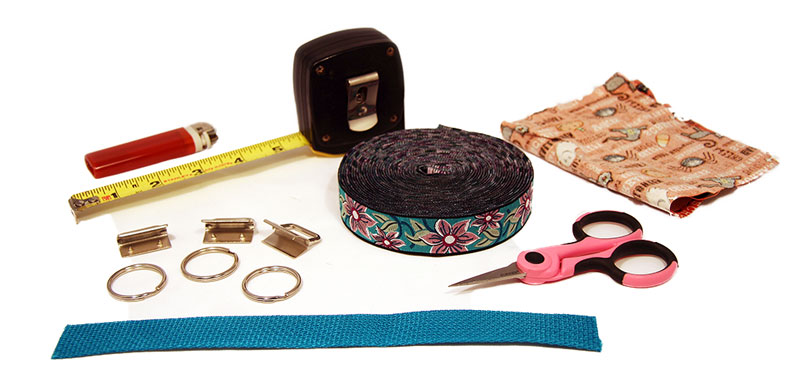
What You'll Need:
- 11" of 1" wide Patterned Ribbon
- 10" of 1" wide Webbing (Optional)
- 1" Key Fob Hardware
- Fabric Scissors
- Tape Measure
- Pliers (Not Pictured)
- Lighter
- Scrap Fabric
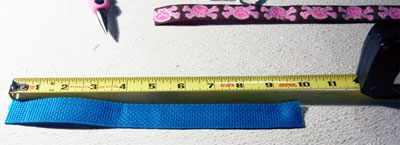
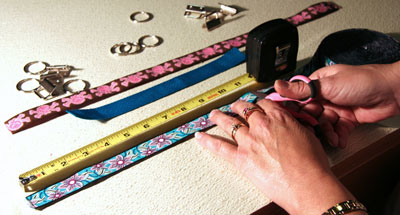
1. Measure Your Webbing
You can use either Nylon or polypropylene webbing. Nylon is somewhat more expensive but it is softer. Measure your webbing and cut a 10" strap.
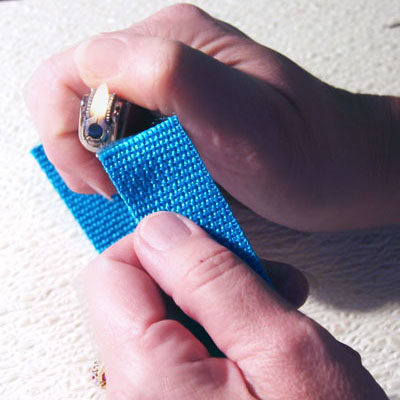
2. Seal The Edges
Now take your lighter and apply enough heat to melt the edge. Polypropylene webbing may catch fire if it gets too hot but you can easily blow it out to avoid any serious damage to the material. For more in depth information on cutting and sealing webbing, see our article: How to Cut Webbing.
3. Cut Your Ribbon
You generally want an extra inch or so of ribbon compared to your webbing. The reason for this is because as you sew them together you want to wrap the ribbon around the ends of the webbing for a better hold. Measure and cut your ribbon.
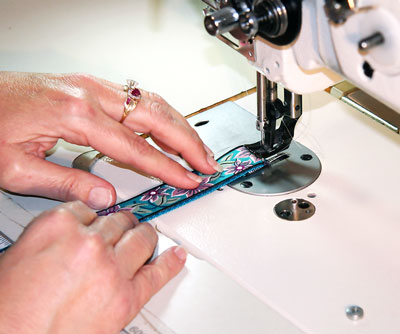
4. Sew The Ribbon And Webbing Together
As mentioned in the previous step, try to fold the ribbon over the edges of the webbing for a better hold. We like to use a clear thread so that it does not interfear with the colors of the webbing and ribbon. However, with the right color you can add a beautiful splash of originality to your key fob. Have fun and experiment with different combinations.
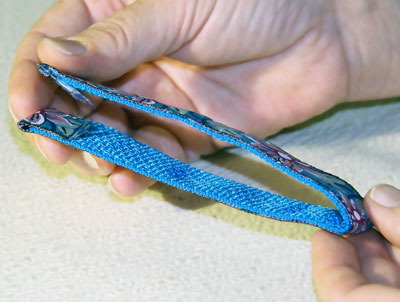
5. Fold The Webbing
With the webbing sides on the inside, fold your webbing at the center point. Try to line the ends up.
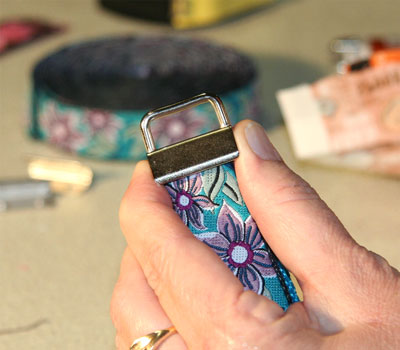
6. Apply The Clamp
You'll notice that one side of the fob has two prongs on the inside. These will help keep your webbing in place. Take your folded webbing and place the raw ends inside the fob, making sure all your edges are even and nothing is sticking out the sides that you don't want hanging out.
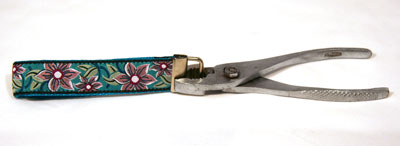
7. Pinch The Clamp Closed
While holding everything together with one hand, cover the metal parts with your scrap of fabric, and squeeze the jaws of your fob together with your pliers. Apply gentle even pressure across the entire width of the fob hardware. This step is worth taking some time on so that the fob looks clean and even all the way across. The scrap of fabric will protect your hardware from being scratched or dented by the pliers.
8. You're Finished
Attach a key ring and your beautiful key fob is complete and ready for keys. With just a few tries you'll find yourself making key fobs like a pro.